Showing posts with label Kid's Play Items. Show all posts

Friday, July 27, 2012

Sponge Water Bombs

 I am going to have to start a whole new section of my blog called Saw it on Pinterest! I'm sure I'm with almost all of you that I have become seriously hooked on it. The ideas coming off there crazy awesome. So from now on there is going to be a mix of my own creative ideas, some that are inspired by others but I add my own twist to and then ones like this that are too awesome to not just plain copy.

This idea originally came from House of Hepworths. I remembered seeing it on Pinterest and made these up and did the picture for them, THEN I looked back to her blog and saw that she called them the exact same thing. Oops- I really wasn't trying to copy that far but I'm not sure what else you would call them. So, in the end, thank you House of Hepworths for creating this summer fun- it really is a great replacement to water balloons which can be a pain to fill and clean up.


I purchased two packages of large sponges, cut them into 3/4 inch strips (you could use scissors but the cutting mat is faster if you have one), lined up six strips with two layers of three and the tied fishing line super tight around the middle.

You seriously don't even need to be a "crafter" to make these- I whipped them up one morning before a play date. The kids even had fun helping me group the colored strips together!

Happy sponge bomb making!


Wednesday, February 22, 2012

Dinosaur Tails

I originally posted these dinosaur tails last summer shortly after I started blogging. I just decided to go back and spruce up the picture and holy cow, I really didn't know a thing about writing a post (maybe I'm only slightly better now but it was bad!) So I decided to redo some of it and repost.

One day I stumbled across this tutorial from Running with Scissors (which has become one of my favorite blogs to follow) for these adorable and fun dinosaur tails! I knew that I just had to make some! I started with one for my friend's son's first birthday (I knew he would have to grow into it but couldn't help making him one.) Then I went on to make one for my son's birthday, then one for my daughter who just LOVED his, then for my nephew's birthday. This goes on and on as I have now made quite a few for gifts. I even keep a small stash of fabric for when I need to whip one up!

The first time I made one of these I was a little intimidated by the circle on the back of the tail but once I made a couple of these, it became a breeze. Despite my intimidation, even the first tail turned out great, it just took a wee bit longer than once I really had it down.
I also added a liner of batting to the inside of the green tail since it was made out of a little thinner fabric and that helped the stuffing to not look "bumpy". From my experience making these tails, I recommend using bottomweight fabric. It isn't too heavy nor is it too thin where you have to even worry about a bumpy finish.

Gettin' sassy with the tail!

This is the blog that I stumbled across that day. I thought that she had some cute things so I kept my eye on it. Since then she has blown me away by her talent and not to sound sappy but she really has inspired me in my own blogging and definitely in life to try new things. With as much as she gets accomplished (with children younger than mine!) I would love to see a picture of her kitchen to confirm whether she really is secretly wonder woman or if it's just as messy as mine:)
Happy Sewing (and dino roaring!)

Amy


Thursday, February 2, 2012

Doll Changing Pad

This is a little changing pad for my little girl to change her little baby's diapers!
It was a simple design from "Sewing For Babies" from Lotta Jansdotter. I made a few changes to the original. I simply changed the size to fit a dolly, made a strap instead of just using ribbon and changed the strap placement to have the pad fold in half instead of thirds to better fit the smaller size.
It fits so nicely ia a little bag with the diapers!
Here is what it looks like open:


Oh! Just in time! I guess baby is in need of a changing:


"Look Mommy! I can do it all my myself!"
I know that I didn't share much about the changing pad but I just finished the "real one" for my
sister-in-law's baby shower so I can show you more soon!

Amy

(As always, if you like it, pin it!)

Friday, January 27, 2012

Kids' Fishing Set Tutorial


I have seen these fishing sets ALL OVER the place on different blogs and have loved every one of them so I just had to make one for us too! Of all the blogs I looked at I liked the set from From an Igloo the best so I started there!


I first made one practice fish and felt that I wanted the shape to be a little different so I kept working with the pattern until I really liked the shape of the fish. I am not as computer savvy as some and I could not for the life of me figure out how to give you a pdf to print but I can show you the shape:

My fish pattern was 6-7/8" long- you can print this and enlarge it to that size.


Start by sewing around the fish using 1/2" allowance, leaving 2" open on the bottom. Cut around the edge with a pinking shears (sewing scissors that cut a zig zag). If you don't have a pinking shears you can snip the fabric close to the seam all the way around but this just takes a little more time than pinking shears. Turn the fish right side out, stuff, hand stitch the opening closed. To finish, sew on button eyes and a washer on the mouth.

*Reminder: magnets if swallowed can be very dangerous! Please make sure all stitching is secure and keep away from young children!*

For the fishing pole, simply take a wood dowel and drill a hole through it, lace one end of a heavy string/cotton twine through the hole and tie a knot real tight and then trim the end. For the "worm" end of the pole, take a pinking shears and cut a 2 1/2 inch circle. Then do a simple running stitch by hand about 1/2 from the edge, place a magnet in the middle and start to draw it closed. Just before you pull it tight, turn the raw edges inside the pouch and insert the other end of the string with another knot tied tight at the end of it. Pull the pouch tight and sew through the closure and string many times to make it very secure for safety reasons.


Enough of all this jabbering- time for some serious fishing:


You can see that my fishing poles can hold many (all) the fish- I used high powered magnets and I do suggest finding some for this project since I heard on many blogs that they had to make the fish small so the the magnet could "catch" only one fish!

 "Whew- after all this fishing we're parched! Time to stop for a little refreshment!"

Happy Fishing!

Amy

(and if you like it- pin it!)

Sunday, January 22, 2012

Doll Diapers

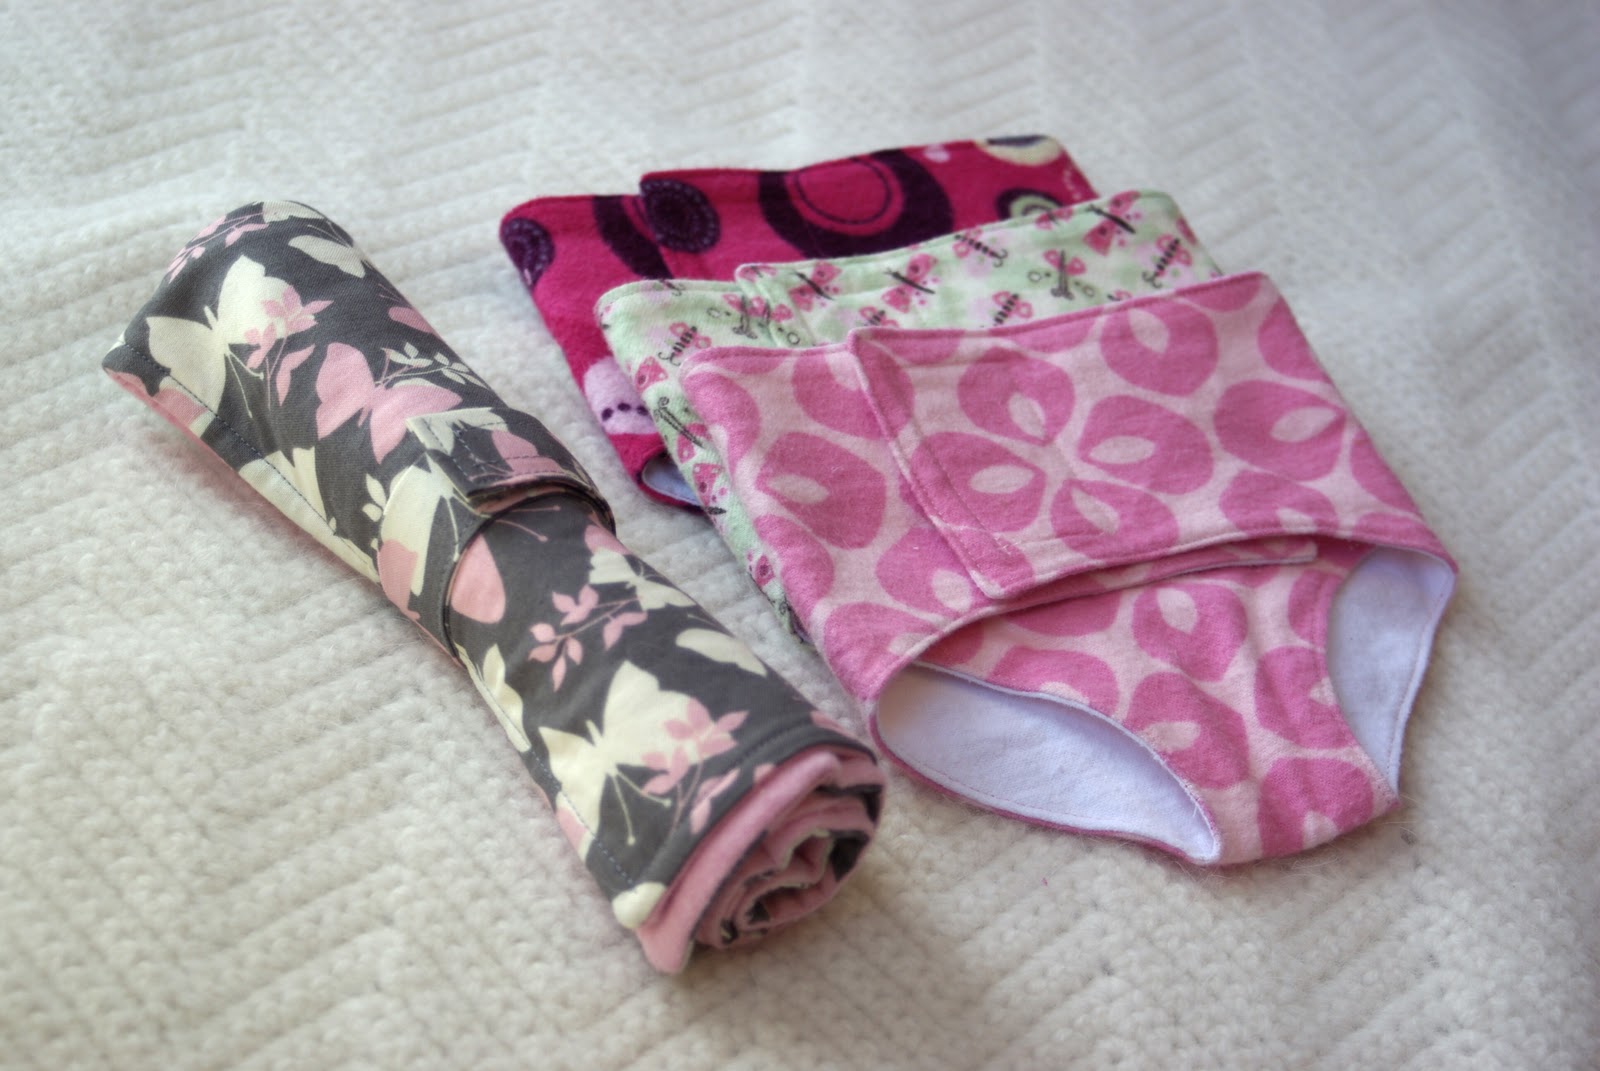
When I discovered the world of blogs (which only took me until last spring- what's wrong with me?) I found THIS tutorial for dolly diapers and put it on my must-make list! Thankfully, my committing to giving them as Christmas gifts gave me the push to finally make some!


I will start by saying that I am soooo glad I found the tutorial for these diapers from make it and love it! My only issue with it is that the tutorial may be a little difficult for some to be able to create a pattern for their doll. My diapers actually look fairly different in shape than hers. I didn't have extra time before Christmas to document every step in the process but my mother would like diapers for a number of her dolls so I plan to do a small tutorial on these in the future! I will give you the tip of starting by measuring the baby's waist, crotch width and length you want the diaper to be from front to back and start to sketch with those measurements. Once you get a "rough draft", cut it out and put it on the doll and adjust what you need to from there!


Since the doll that I gave to my daughter (which actually was mine from when I was little!) is a larger doll (I bought a Carter's 3 month outfit for her), I purchased special velro from JoAnn Fabrics in their new Babyville Boutique section. It comes in many different colors which is awesome but since I sent my husband to the store with no coupon (regular price is $3.50/package) I just bought the white. Oh and by the way, the package says "Boutique EZ Adjust Tape" instead of "velcro". My only complaint about it is that since it is sold to make real baby fabric diapers, the velcro is so strong that my daughter sometimes needs help getting it open which would be a great quality if you were purchasing this to make actual baby diapers!


I also made the changing pad that she has her doll laid on and I will do a post on it soon! It was out of a book called Simple Sewing for Baby. I love that it is so soft and how it rolls up so nice and small. Of course, I made it smaller than instructed since it was for a doll.


It is amazing how often a doll can go potty or the other in her diaper in such a short period of time! You can see in the background that this is the third diaper she had to change in a row! I sure am glad real babies don't need changing that much- I'm exhausted just at the thought!


"Look Mommy! I did it!"


Here are a few much smaller diapers that I sent to my niece for Christmas:

These diapers are much smaller so I used a regular one inch velcro but purchased the "soft & pliable" variety.


I am almost embarrassed to look at this picture as this was my first diaper that I made and the stitching is far from perfect but from what I hear, she loves them anyway:)


Happy diaper making!

Amy

Tuesday, November 22, 2011

Kid's Thanksgiving Stuffing

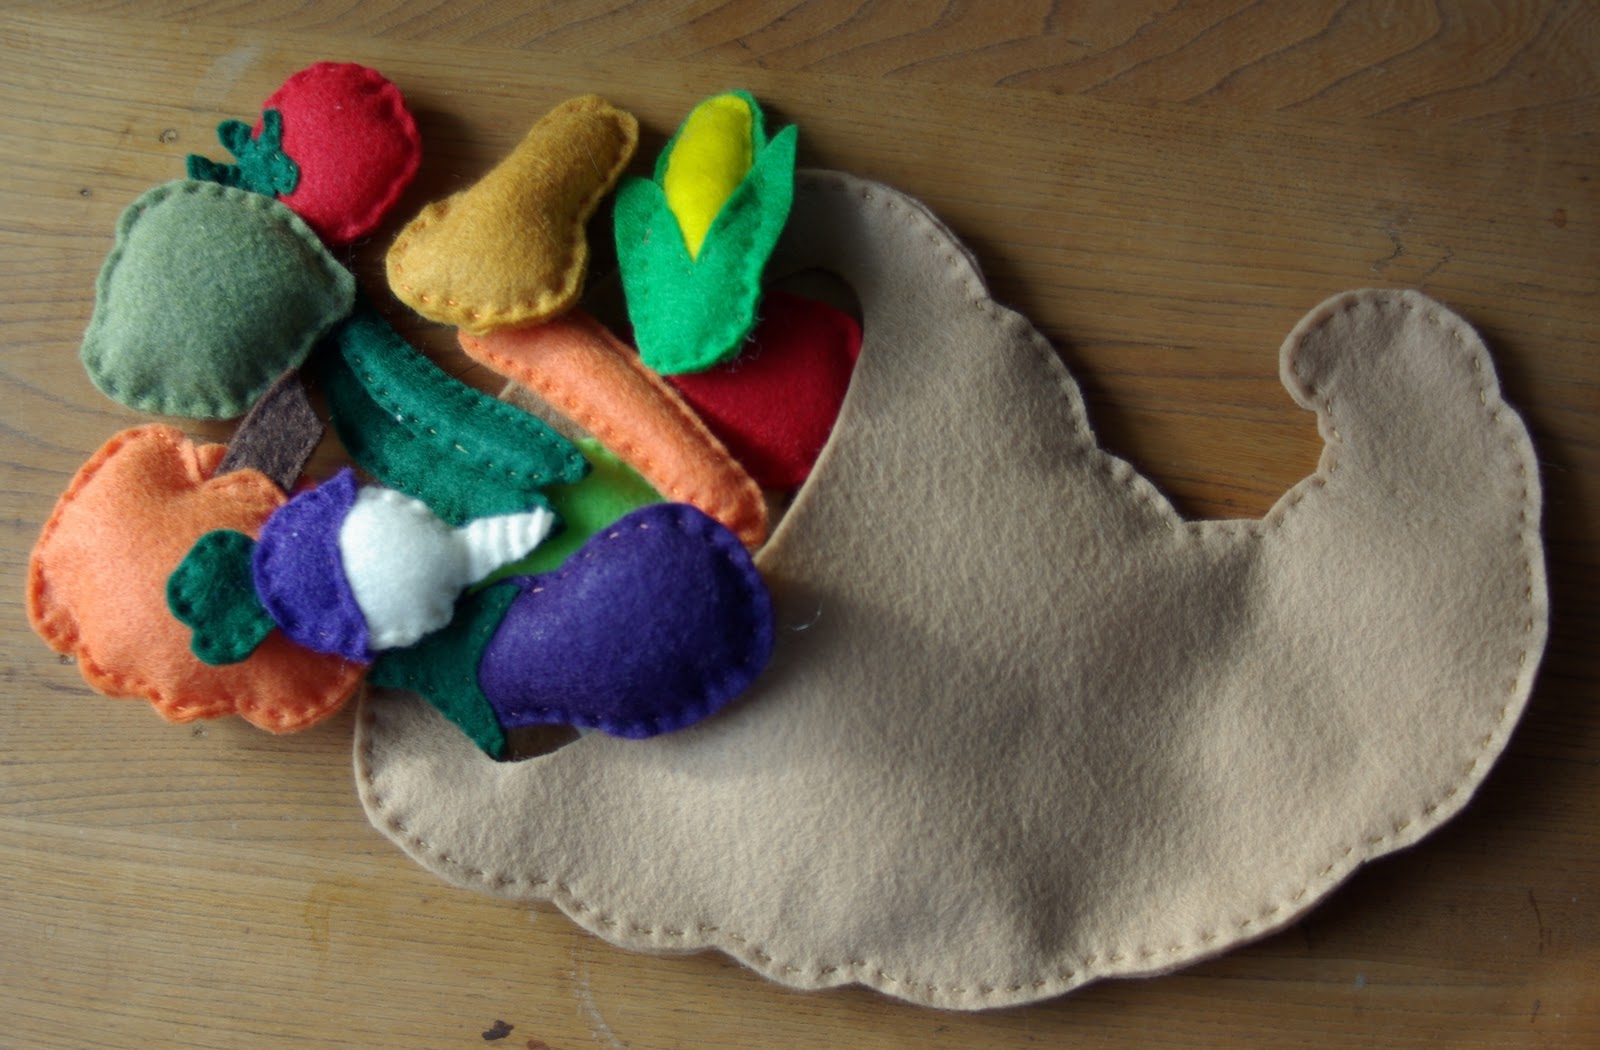
I saw this pattern for Kid's Thanksgiving stuffing last year in  Family Fun Magazine. I finished most of it a few weeks ago but haven't posted it yet because I had not yet sewn the cornucopia. It would have been nice if it would have been posted early enough for those of you who would like to have time before Thanksgiving but you can hold on to it for next year like I did!


Pattern includes: cornicopia, pumpkin, apple, eggplant, butternut squash, turnip, apple, onion, garlic, corn, carrot, green beans, acorn squash, tomato, potato and pear.


The only thing that I really did different from the pattern is that since I was taking so much time already, I cut two pieces for all the stems and sewed them together also to make them more sturdy to last through toddler play.


Click HERE for the template for the Thanksgiving stuffing. They claim that this project will take 1-2 hours but I warn you that they LIE! Between cutting the template, cutting the felt and hand sewing 16 pieces total, I'm guessing it was closer to 5-6 hours. Maybe it took their entire staff 1-2 hours as they worked on it together, who knows!

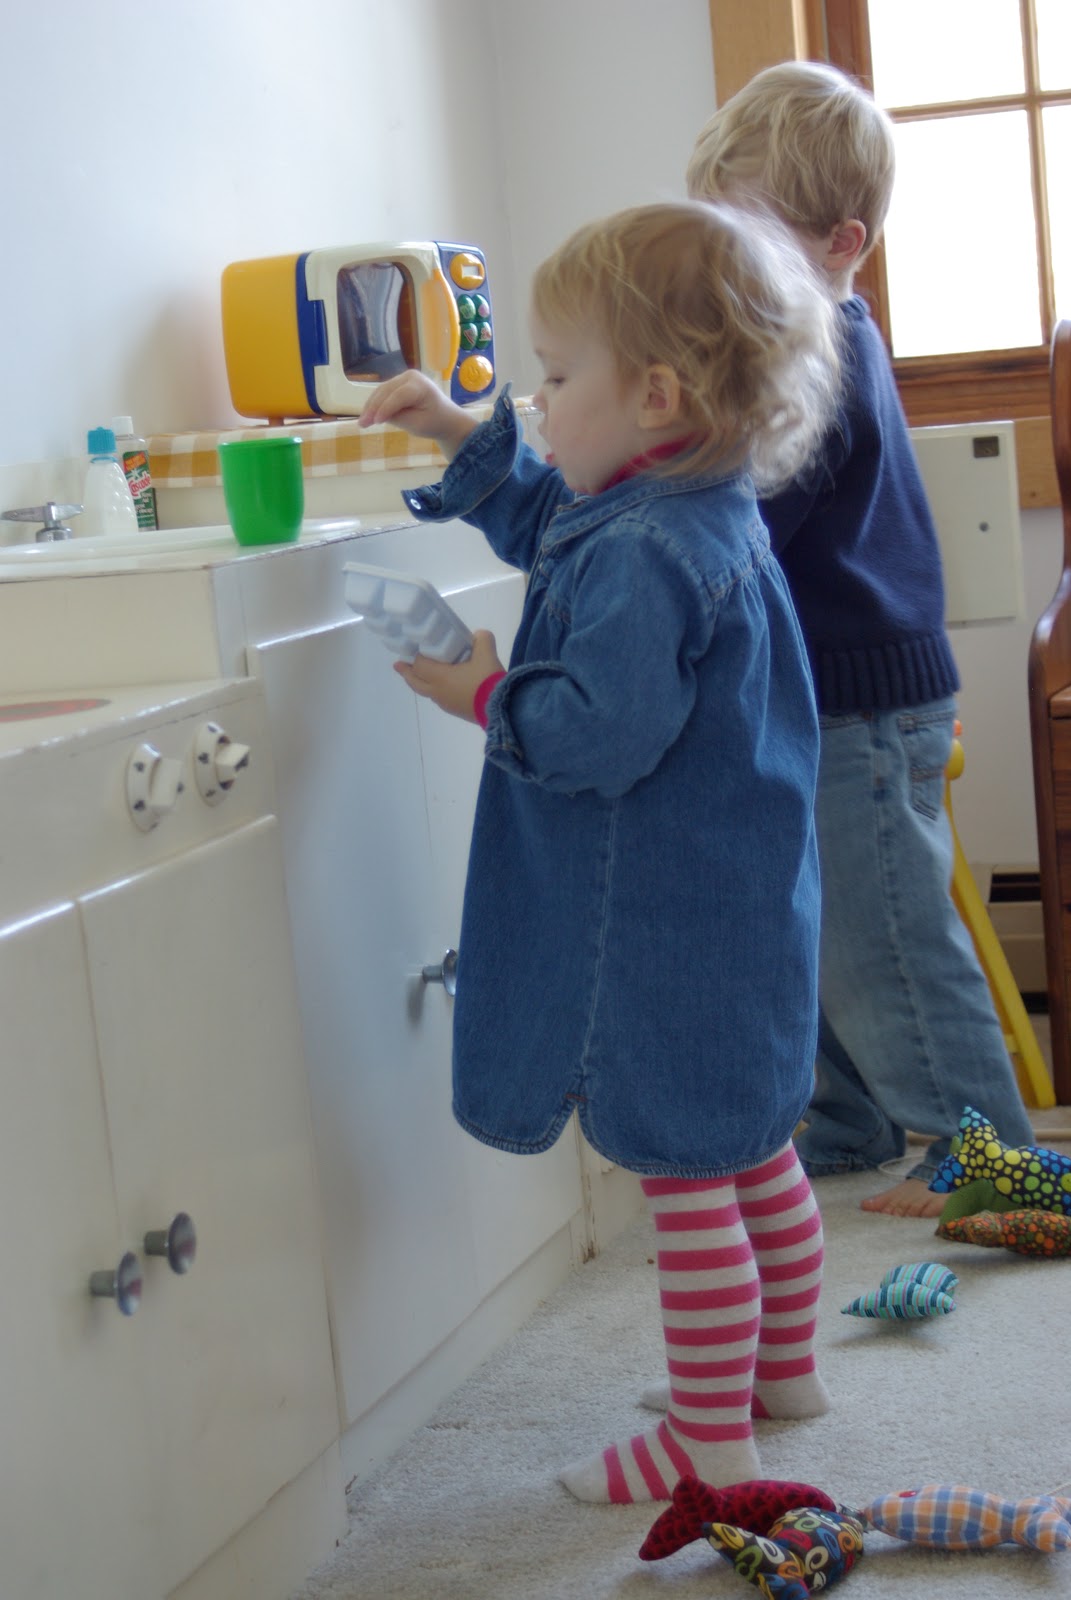
 Making stew with the vegetables!

 Taste test to make sure that it's just right!

 No sense crying over spilt...stew!


I hope you enjoyed and have fun making your own! I am hooked on the felt food and might venture onto some fried eggs, bacon and toast that I saw on another blog!

Amy